Facebook is all about making it easy to share your life with your friends and family. Unfortunately, there are just some things you shouldn’t share online. These bits of information can put you in danger of identity theft, losing your job or causing other major life trouble. We’re going to cover five of the biggest offenders you should just leave alone.
1. YOUR PHONE NUMBER
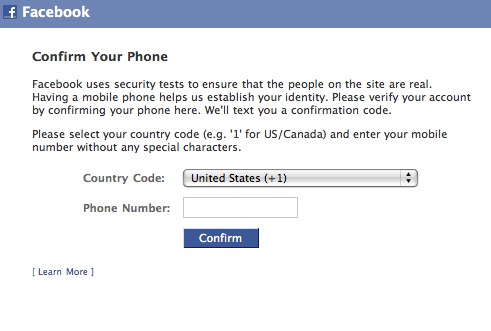 It’s a good idea to avoid having your home or cellphone numbers on your Facebook page. Prank callers, stalkers and even identity thieves can use this information to ruin your day.
Not only that, but people who have your cellphone number, which isn’t hard to find online, can use it to search for you on Facebook. This means that any number of weirdos can get access to your Facebook page’s information. One security researcher, Reza Moaiandin, took it a step further and found he didn’t even need to know a specific phone number. He wrote a script to generate every possible number in the U.S., U.K. and Canada.
Then he submitted the numbers to Facebook and got back information from millions of profiles that had poor privacy settings. If he had wanted to, he could have turned around and sold the information on the black market to hackers who build and sell “fullz” or packages of identity information.
There are times you do want to give your phone number to Facebook, such as turning on two-factor authentication. Learn why turning on two-factor authentication is a good idea. If you do give your phone number to Facebook, however, you should be sure to hide it in your profile
Go to Facebook and click on your name at the top of the page. When your profile page loads, click the “About” tab just below your cover image. Go to “Contact and Basic Info” in the left column and next to your phone number click the “Edit” link.
Click the audience selector icon, which will either be a globe or a silhouette of two people and change it to “Only me.” Now no one but you can see your phone number, and it won’t show up in searches.
2. YOUR HOME ADDRESS
 Almost any person trying to steal your identity, or rob your house, could take advantage of knowing your home address. Be sure that none of that information is visible anywhere on your Facebook profile.
Follow the directions in the last section to get into the “Contact and Basic Info” section of your profile information. Look for “Neighborhood,” and if there’s an address there, click the “Edit” link next to it and wipe out the information. Then click “Save Changes.”
One other place you might not think about your address being is under events. If you create an event, it will likely have your address so people know where to go. If that accidentally gets set to Public, then anyone can see it. Either delete the event right after it happens, or tell people attending to message you for the address.
Be sure to check back through your history to get rid of any old events or posts that have your address in them. Learn how to find and get rid of this information using Facebook’s Activity Log feature.
3. ANYTHING WORK-RELATED
 Try not to leave any information on your Facebook that reveals where you work. You don’t just have to worry about identity thieves when it comes to your employment.
If someone from your workplace tries to search for employees on Facebook, then they might find something that they don’t like. Similarly, if a hacker wanted to figure out whom to target if they wanted to break into your workplace’s computers, social media would be their first stop.
Bonus tip: If you’re worried about coworkers or employers creeping on your Facebook profile, find out how to keep them from seeing certain posts.
Again, you can use Facebook’s timeline tools to do a scan of your past posts. Remove any information about your current job, especially if it’s of a complaining nature.
If you have posts about previous jobs, you might want to remove those as well. A current coworker or supervisor you decide to friend might see them and it could color their opinion of you.
4. YOUR RELATIONSHIP STATUS
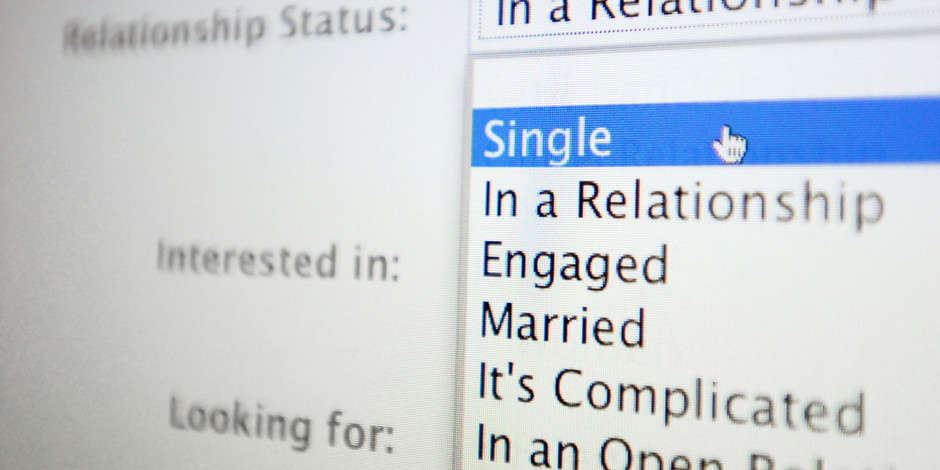 Including your relationship status on your Facebook page just invites awkwardness. The number of “likes” that you might get from people after you change your status from “married” to “it’s complicated” will creep you out.
Bonus tip: Have some pictures you want to keep in the family? Here’s a tip that will teach you how to make sure that some of your friends don’t see all of your photos.
Certain relationship statuses are also a draw for cyberstalkers. At one point, there was even a Facebook app that would notify you if friends you flagged changed their relationship status to “single.”
Don’t forget the scammers out there who specialize in sweetheart scams. They use social media, email and dating sites to create a romantic connection with you and then swindle you out of money. You don’t want them to see that you’re single on Facebook and get ideas.
It’s easier to just remove your relationship status entirely. Let people find out about changes in your relationship naturally and not passively acknowledge your relationship status by “likes” and comments.
5. YOUR BIRTHDAY
 When you signed up for Facebook, it asked for your birthdate. This is both to confirm that you’re older than 13, and so Facebook can remind your friends to wish you a happy birthday.
Unfortunately, your birthdate is a piece of information that identity thieves will need if they want to pretend to be you. You don’t want this information publicly available.
In your Facebook profile, click your name at the top. Then beneath your cover photo click “About.” Under “About” in the left column, choose “Contact and Basic Info.”
Next to “Birth Date” click the “Edit” icon. Then click the audience selector icons for both day and year and choose “Only Me.” Then click the “Save Changes” button.
BONUS: YOUR PAYMENT INFORMATION
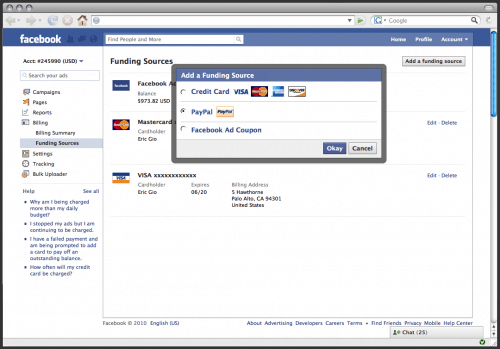 Facebook is free, but it still wants your credit card number. Adding your financial information lets you buy gift cards and other products straight through the website. How convenient!
Of course, one of the best ways to accidentally get your credit card charged for something could be to leave your Facebook profile open on your home computer. A small family member or “joking” friend at your home could use it to spend money on something straight through Facebook. You don’t want that to happen, do you?
Open your Facebook, click the upside-down triangle in the top right corner and choose “Settings.” In the left column select “Payments,” and then on the right go the “Account Settings” tab. You can see if you have any saved payment information and remove it.
